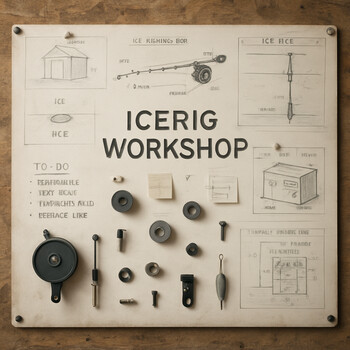
Bench tests
Bench tests that break your rig before the ice can
This page belongs to the workshop. It tracks what cracks, slips or fogs up when you pull, bend and freeze every new IceRig build under lights.
Each run is short and honest: a clear setup, a few checks and a verdict that fits in one line. You see where the sled, box or shelter failed and what the next version changed before it ever touches real ice.
The idea is simple: move the first failure from a dark windy lake to a calm bench night where tools, notes and hot tea are within reach.

Temperature ladder
A simple cold ladder to see when parts really turn brittle
Parts drop through three steps: garage air, freezer shelf and a long soak at deep freeze. After each step, the same bend and clamp test repeats.
When a clip or bracket goes chalk white or snaps with almost no force, it fails the ladder. Only the pieces that stay dull and flexible earn a spot on a sled rail or shelter frame.
- Keep one “warm” control part on the bench to feel the change in stiffness.
- Note the step where screws stop biting cleanly into plastic or sealed wood.
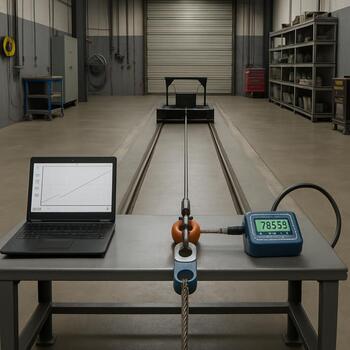
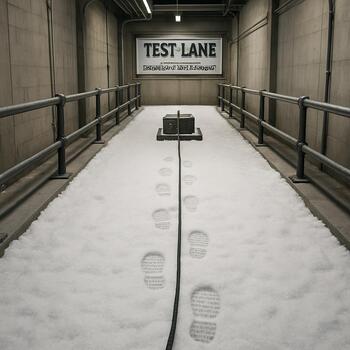
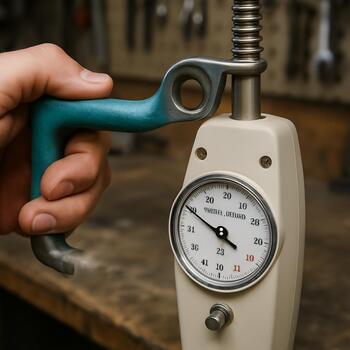
Pull track
A short pull track that tells you when the sled is too heavy
The pull track is nothing fancy: a smooth strip of floor, a spring scale and a mark where the sled starts to feel wrong.
Each rig gets weighed the same way. You pull with a normal pace, note the peak on the scale and decide if that number feels like a calm lake walk or a rescue haul. The number goes on the recipe card next to that layout.
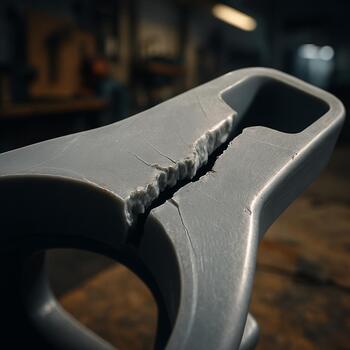
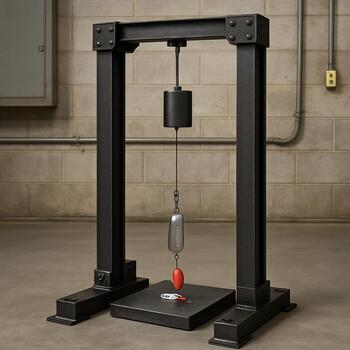
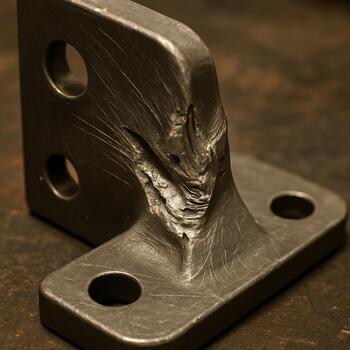
Impact rack
A quiet impact rack that finds the weak corners first
Before a bracket sees rock-hard ice, it spends a night on the impact rack. Parts drop again and again from marked heights onto a padded anvil that copies a frozen rut.
The goal is not to smash everything in one go. Instead, each part takes a series of lighter hits. You watch when hairline cracks appear, when paint starts to flake and when a bolt finally bends out of line. That point goes into the notes.
- Start low and step up only when the part survives a full run.
- Mark the first crack with a pen so every retest starts from the same scar.
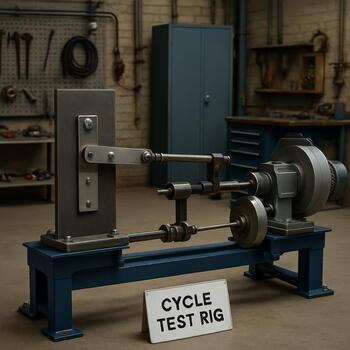
Cycle bench
A hinge cycle bench that runs while you work on something else
Every lid, door and folding bracket takes a shift on the cycle bench. The motor moves slower than a real hand, but it never gets bored and never forgets to count.
Numbers on the log sheet matter less than the way the hinge feels when you stop the rig. A gritty, loose or squeaky motion tells you more than any counter. The best parts stay quiet even after a long overnight run.
500 cycles
Quick check for new hinge ideas.
1 500 cycles
Where most budget hardware starts to complain.
3 000 cycles
The mark for rigs that should last more than one season.
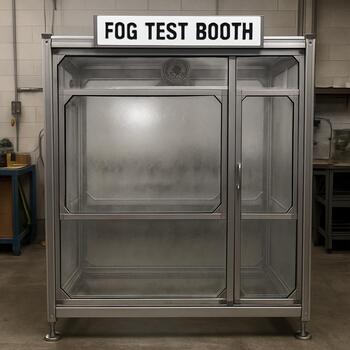
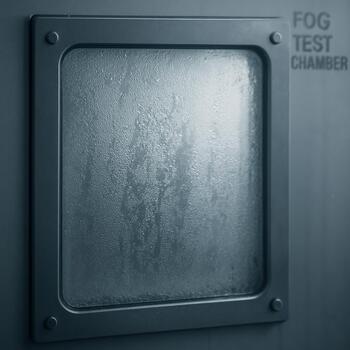
Fog booth
A small fog booth that tells if a window will clear or stay blind
Clear windows look great on the bench until warm breath, lantern heat and cold air meet. The fog booth mixes all three on purpose and watches how long each window stays usable.
Some plastics clear with a quick wipe, others smear or freeze a gray film that never really leaves. Those results decide which plate goes into a real shelter wall and which one becomes a test scrap for the next idea.
Warm up the inside air with a small heater and a cup of tea.
Hit the window with a short burst of steam to copy breath.
Crack the cold door and time how long it takes to see through.
Cable shake
A cable shake rig that copies a long walk over rough ice
Lights, sonar and camera cables all ride the same shaking frame. The sled end stays still while the “boot end” moves back and forth like a fast walk to the spot and back.
Loose crimps, weak zip ties and tight bends show up here long before they hide in a dark corner of the shelter. When something pulls out of a connector, the failure goes into the notes and the next harness gets a new route.
30 min run
Quick check after a fresh harness build.
2 hour run
Same as a long walk to a remote line of holes.

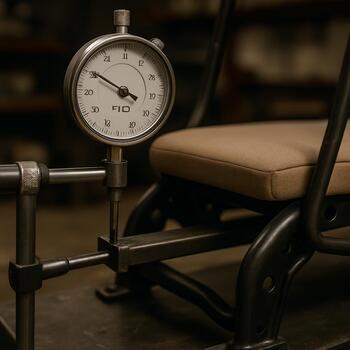
Seat flex
A seat flex bench that checks comfort before the first long night
Seat tests sound soft compared to impact racks and pull tracks, but a bad seat ruins a good rig faster than any broken clip.
Each box lid, folding chair or bench panel sits on a flex frame with a weight bag that stands in for a winter suit and a half-asleep fisher. You watch how far the surface sinks, where it presses and how your back feels after an hour with no phone in your hand.
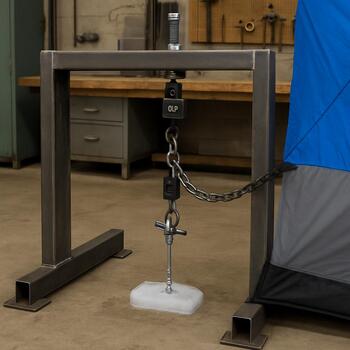
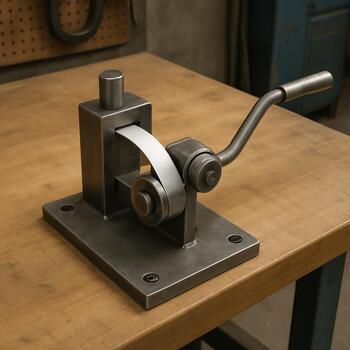
Anchor torque
A torque cradle that decides which anchors deserve a spot in the sled
Anchors and screws feel fine in dry plywood. The cradle tells the truth on real ice blocks, with slush, refreeze and a little wind thrown in.
Some designs bite early and refuse to move. Others spin, squeal and suddenly let go when you lean a little too hard. The best anchors pull free only when the handle feels scary, not when a curious boot bumps the guy line.
- Record both drive-in effort and break-free torque.
- Note which handle shapes still feel safe with thick gloves.
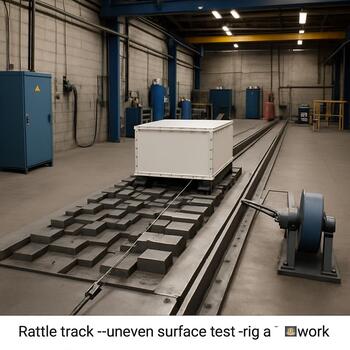
Rattle strip
A short rattle strip that tells how loud your rig really is
On the ice, every loose snap and sliding box sounds louder than it does on concrete. The rattle strip copies that feeling in a controlled way.
The sled rolls over a small set of bumps with a cheap sound meter listening in. You look for the parts that buzz, tap or hum in the same spots on every pass and silence them before they meet thin evening ice.
- Run the same strip packed and empty to hear what only appears under load.
- Tag each loud spot with tape so the fix is waiting back at the bench.
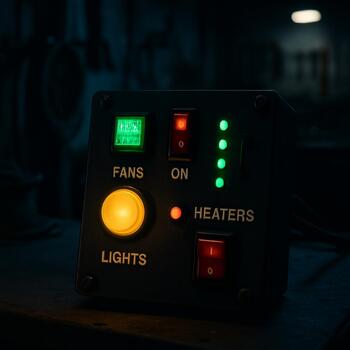
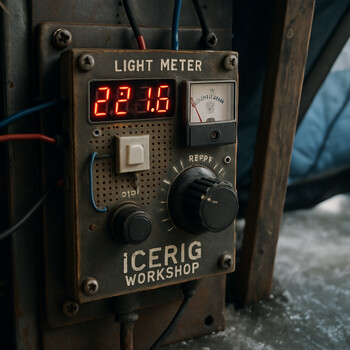
Light table
A light and glare table for nights when dark ice needs soft eyes
Bright LEDs look great on a spec sheet and terrible when they bounce off a wet hole and fogged window. The light table measures both brightness and how harsh it feels in a closed shelter.
Each light string, panel or lantern gets clamped in the same place over a mock hole. You move around the bench, rating how easy it is to read knots, sonar lines and a small notebook without feeling blinded.
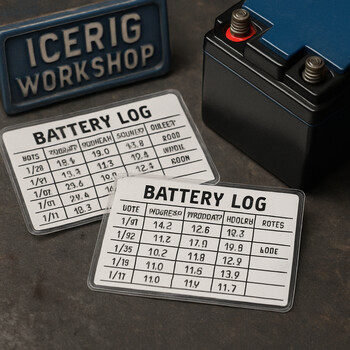
Battery soak
A battery soak bench that exposes weak packs before sunrise
Batteries that look fine at room temperature can fold fast when they sit low in a sled all night. The soak bench gives them the same cold, damp treatment and logs how they behave.
The test is slow on purpose: one steady load, one long graph and a clear mark where lights dim or sonar flickers. Packs that tap out early get labeled for short trips or bench duty only.
- Note both starting voltage and the point where gear misbehaves.
- Keep one warm “spare” to see how big the cold penalty is.
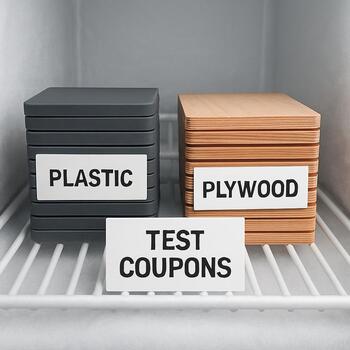
Line tray
A line tangle tray that proves if rig storage really works
Perfect leaders on the bench often turn into knots on the ice. The line tray tests every storage idea before it gets a slot in a real box.
Rigs, clips and small spools ride a shallow tray that slides, tilts and bumps like a busy sled ride. After a few laps, you tip the tray and see whether hooks stay parked and lines fall out clean, or if the whole bundle collapses into a ball.

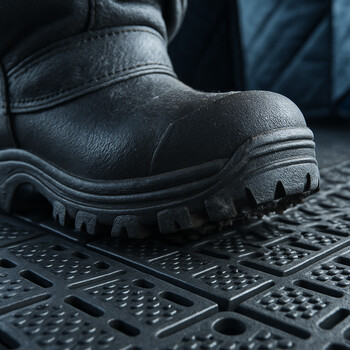
Floor grip
A small floor lab so your shelter does not feel like a rink
Floor tests mix water, grit and boot prints on purpose. The tiles sit at a gentle tilt while you step on them in real winter boots, not sneakers.
Some fancy textures turn into ice slides when they meet slush. Others stay boring and safe. The boring ones win a spot in the rig: they keep knees off the ice and your stove where you left it.
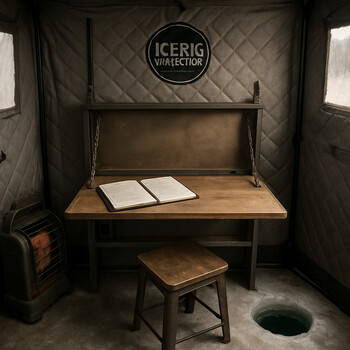
Night log
A night log desk that keeps test notes tidy when you are tired
Bench tests only matter if you remember what happened. The night log desk is where scribbles turn into something you can use on the next build.
A low shelf, soft light and a fixed camera watch the bench while you work. When a clip fails or a sled tips, you jot a quick line and the camera catches the rest. Later, the best frames and notes move into clean recipe cards.
Strap bench
A strap stretch bench that finds the first slipped buckle
Tie-down straps look fine when they are new and dry. The strap bench pulls them again and again over a rounded rail until you see which ones creep, slip or chew up their own webbing.
Each strap gets marked with a pen line at the buckle and a second line on the rail. After a long pull run, any gap between the marks tells you how much the system moved. The best buckles stay boringly aligned even after a full “drive to the lake” cycle.
- Test straps both dry and after a light spray of water.
- Keep the worst slipped example as a warning tag in the shop.

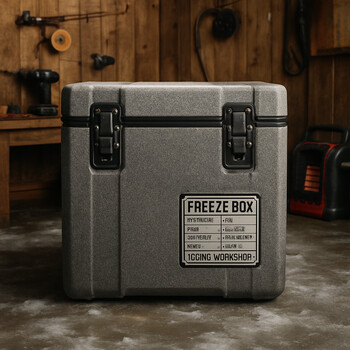
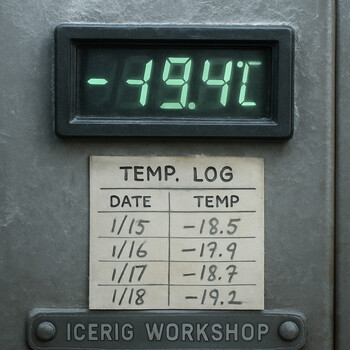
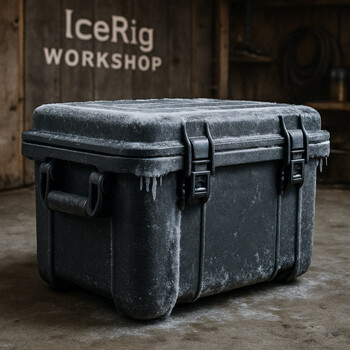
Freeze box
An overnight freeze box to copy the worst kind of calm
Some failures only show up after a full night of quiet cold. The freeze box wraps brackets, cables and small rigs in controlled frost while sensors log every degree.
In the morning, you open the lid and touch everything with bare fingers first. Anything that feels glassy, sticky or slow becomes a suspect. Only the parts that wake up smooth and dull are ready to ride out in the sled.
Result wall
A quiet wall where bench tests turn into rig sign-offs
When a rig passes enough bench abuse, it earns a small card on the result wall. Each card lists the tests it survived and the limits you promised not to ignore.
The wall is not about trophies. It is a reminder of what each layout can handle. Before you load a sled for a long night, you glance at the cards and decide if this is a “calm bay” rig or a “drag it home in the dark” rig.