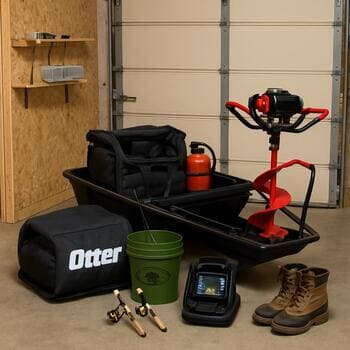
Solo lane
One sled, one box, one shelter. Everything can be dragged in one pull.
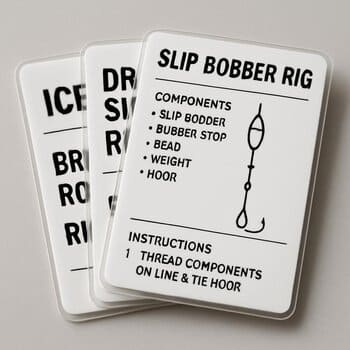
Rig recipes
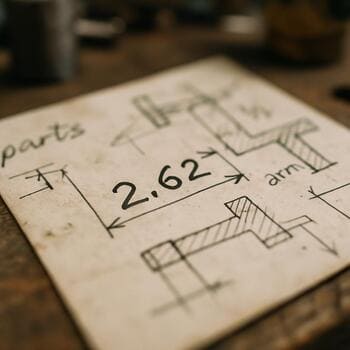
This page keeps the builds light: clear steps, short notes and just enough photos to copy each rig on your own bench.
Every recipe starts with a small sketch, a part list and one lane: sled, box or shelter. You pick the lane, follow the cut sizes and end up with a rig that fits your ice, not a catalog photo.

Pick a lane
Solo nights, duo trips and crew weekends each get their own layout and recipe card.
Solo lane
One sled, one box, one shelter. Everything can be dragged in one pull.
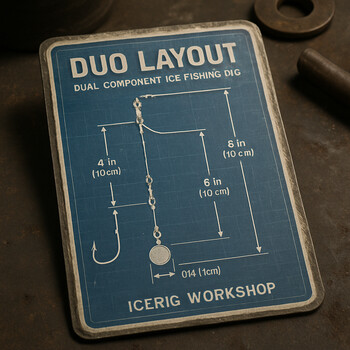
Duo lane
Two seats, shared heater, shared tackle. No one reaches over the hole of the other.
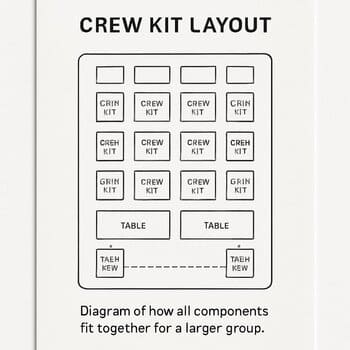
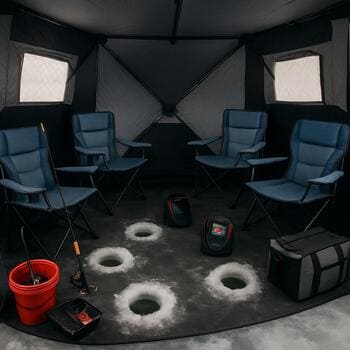
Crew lane
Extra holes, extra rods and a walkway that stays clear all night.
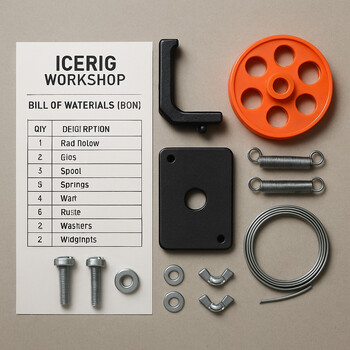
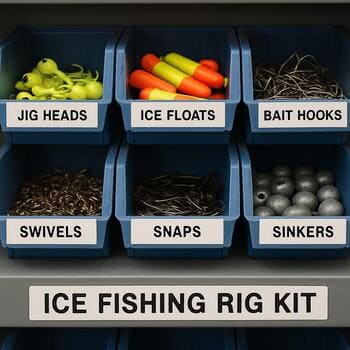
Parts strip
No long spreadsheet, just a single strip for sled, box and shelter builds.
Sled kit
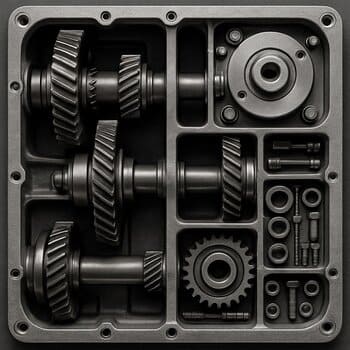
Box kit
Shelter kit
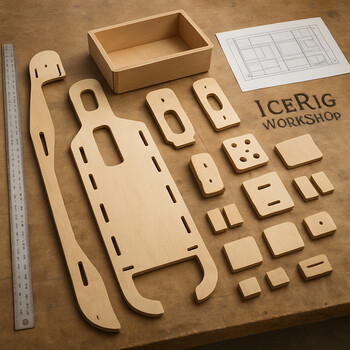
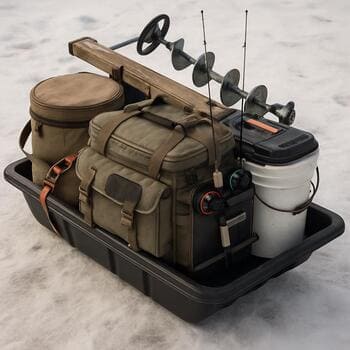
Sled base
One drawing, one cut list and a simple rule: the loaded sled should move in one clean pull without tipping.
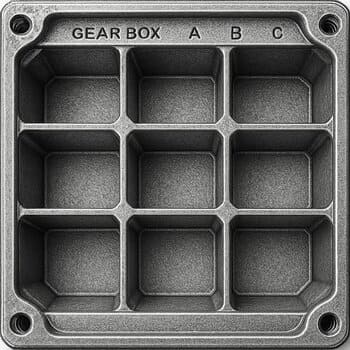
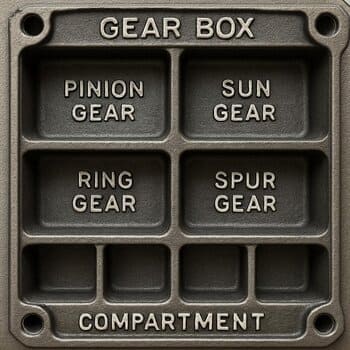
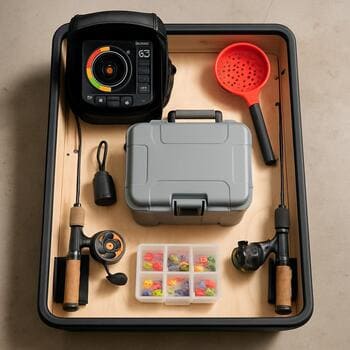
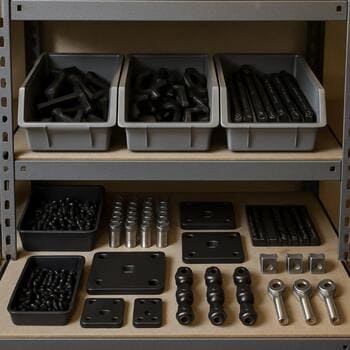
Box grid
The box grid keeps heavy metal low, soft gear high and one cell for the “right now” tools.
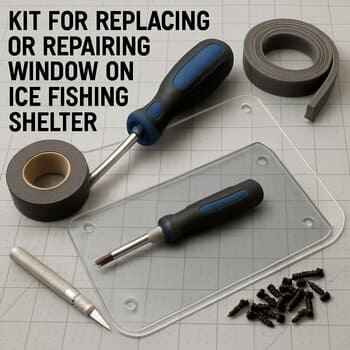
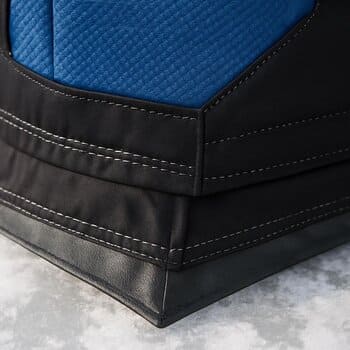
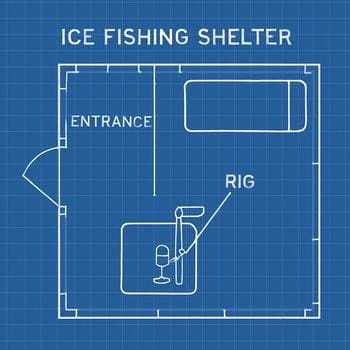
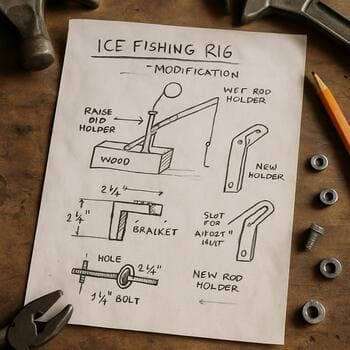
Shelter recipe
This short recipe adds a clear window and a simple wind skirt to cut drafts around your feet.
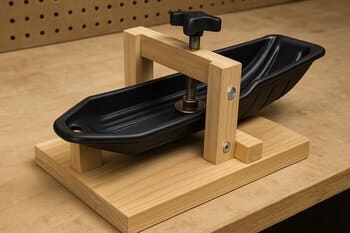
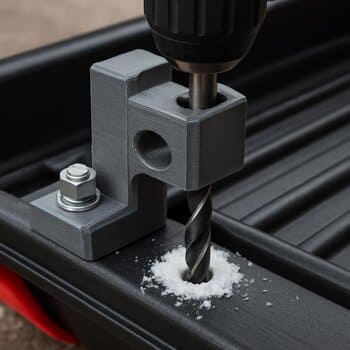
Sled jig
Clamp the jig once, drill all bracket holes and the deck stays square without guessing.
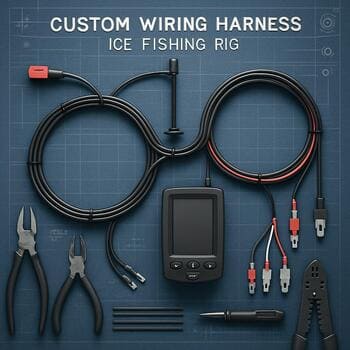
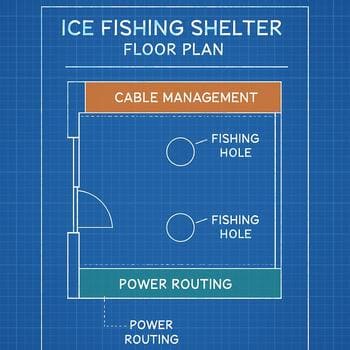
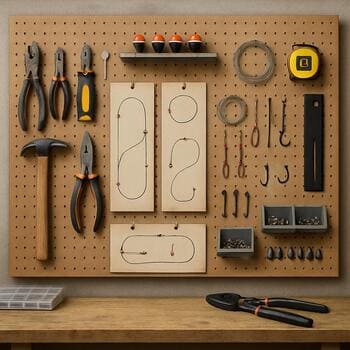
Wiring lane
Lay the harness out on the bench exactly how it will run in the shelter, then wrap and clip it once.
When the harness is built in a calm room, there is nothing to untangle in the dark on the ice.
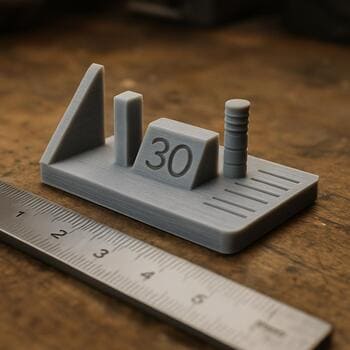
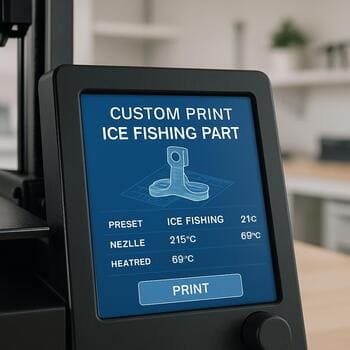
Print presets
Three simple profiles cover most IceRig parts: clips, brackets and window plates.
Clip mode
Slow walls, extra perimeters, nothing brittle.
Bracket mode
Hotter bed and beefy infill for sled corners.
Window mode
Clear layers for plates that stay see-through.
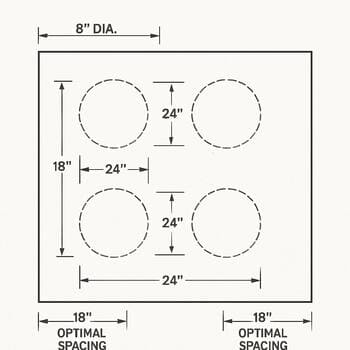
Layout templates
Print one page, lay it on the bench and decide how you want the ice to look before you leave.
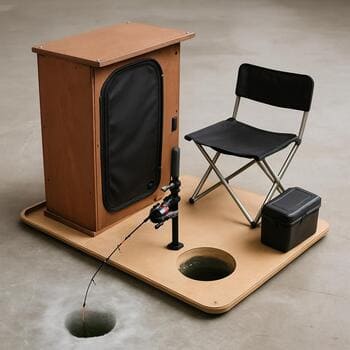
Compact rig
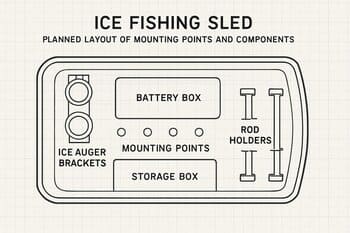
Sled, box and shelter stay inside one short rig recipe that fits most solo nights.
The blueprint shows how high to stack gear and where to leave a hand free when you pull.
Micro mods
A short rail of small upgrades you can copy on a weeknight before the next trip.
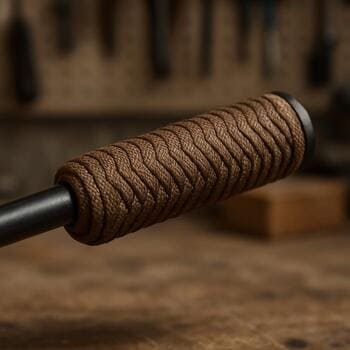
Handle wrap
Grip tape and one bright mark show where to grab in gloves.
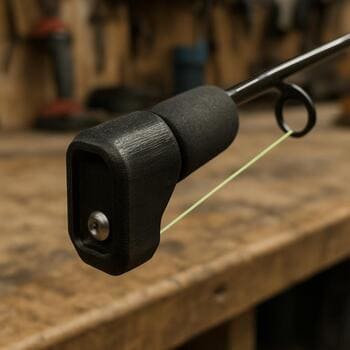
Rod bumper
A soft bumper keeps rod handles from hitting bare plastic.
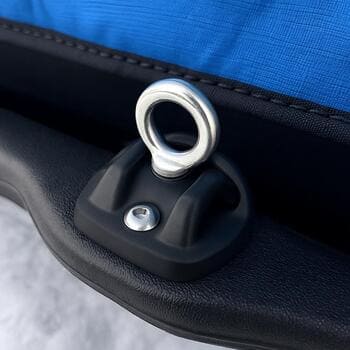
Anchor loop
A short loop makes frozen anchors easier to pull out.
Bench notes
Notes stay small: what failed, what fixed it and one line about the next test.
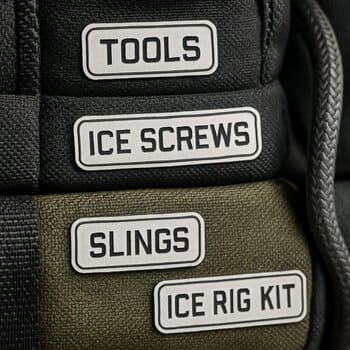
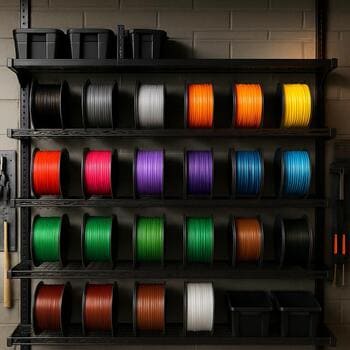
Kit staging
Sled, box and shelter kits each get a shelf lane so you can see what still needs work.
Rig variants
Quick cards show how to stretch the same base rig for a long day or a calm family trip.
Long solo
Extra fuel and food, but the same simple layout and pull weight.
Family lane
Two seats, extra snacks and a clear spot for a small helper.
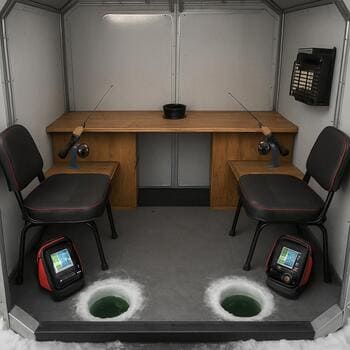
Duo night
Shared heater, shared box and two rod zones that never cross.
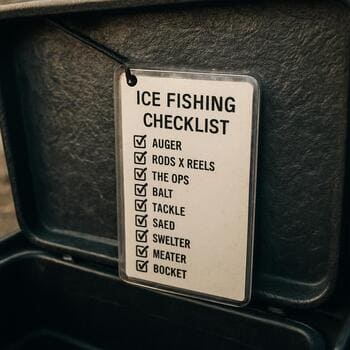
Checklist cards
The same rig recipes turn into credit card sized checklists for the last look before you leave.
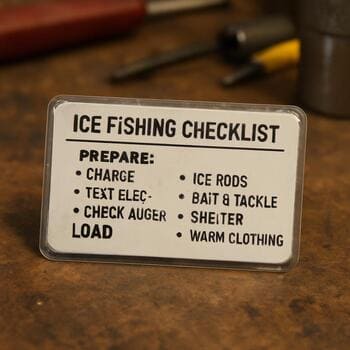
Print checks
Failed clips and rough test strips stay in one box so the next version gets better, not just bigger.